今日は「歯を白くする」をやるよ。
手入れしてる人でも歯はちょっと黄色がかってるもんね。
操作手順
1. 今回作るモノ
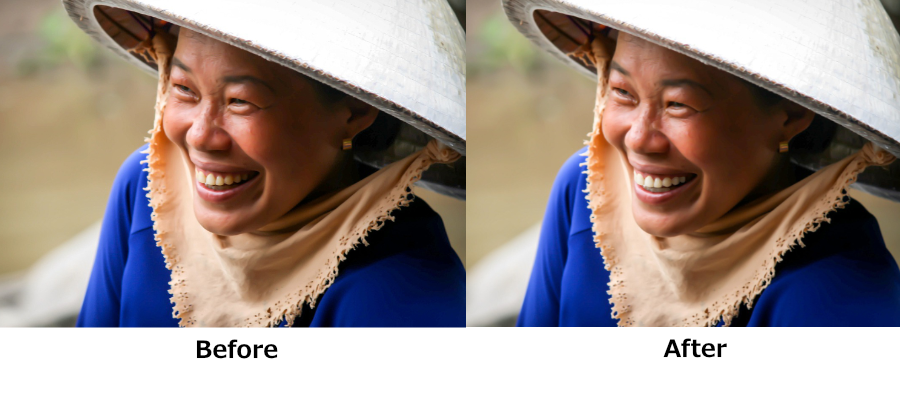
女性が伝統的なベトナムの麦わら帽子をかぶって、微笑んでいますね。
Beforeのままで十分チャーミングですが、歯を少し白くすると清潔感が出ますので、好感度がアップします。
少しわかりにくいのですが、Afterの歯はBeforeより白くなっています。
歯を白くしすぎると、全体から浮いてしまうので、
白くはするんだけど、顔全体として自然に見えることが大事です!d(^^)
女性の画像のダウンロード先:lauraelatimer0 from Pixabay
2. 画像を読み込んでレイヤーを複製する
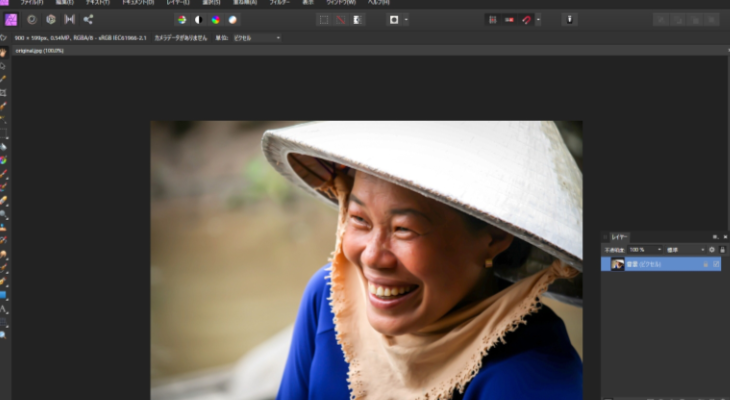
画像をAffinityPhotoに読み込みます。
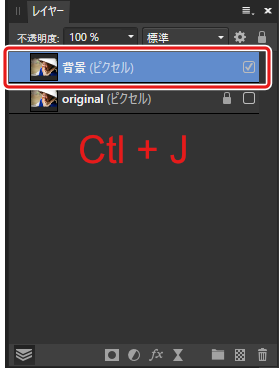
「Ctl」+「J」でレイヤーを複製します。
3. 歯のトレース
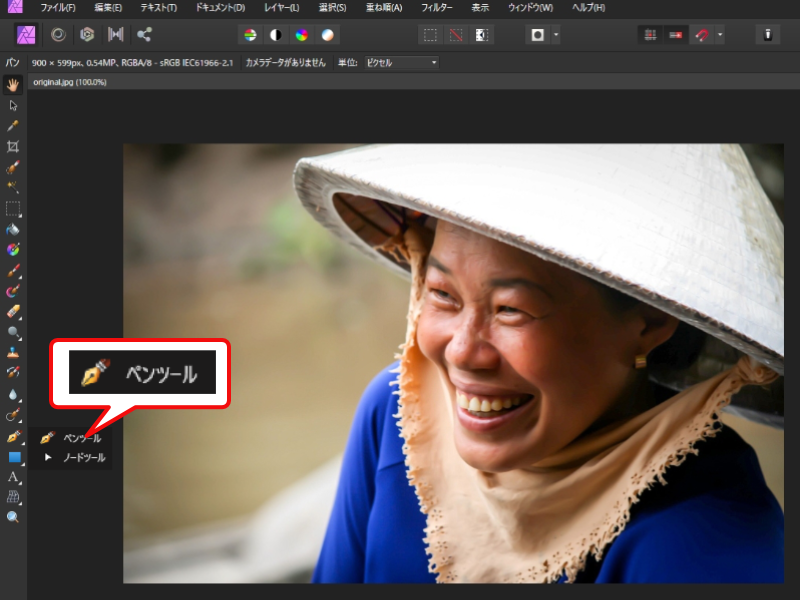
ツールバーからペンツールを選択します。
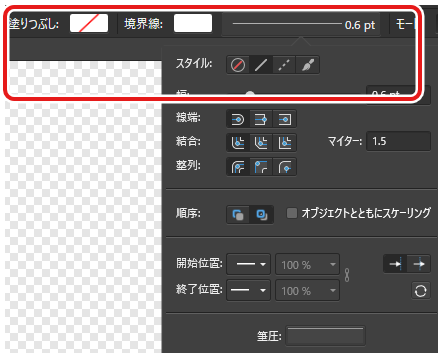
ペンのサイズを0.6ポイント、線の色を#FFFFFF(白)に設定します。
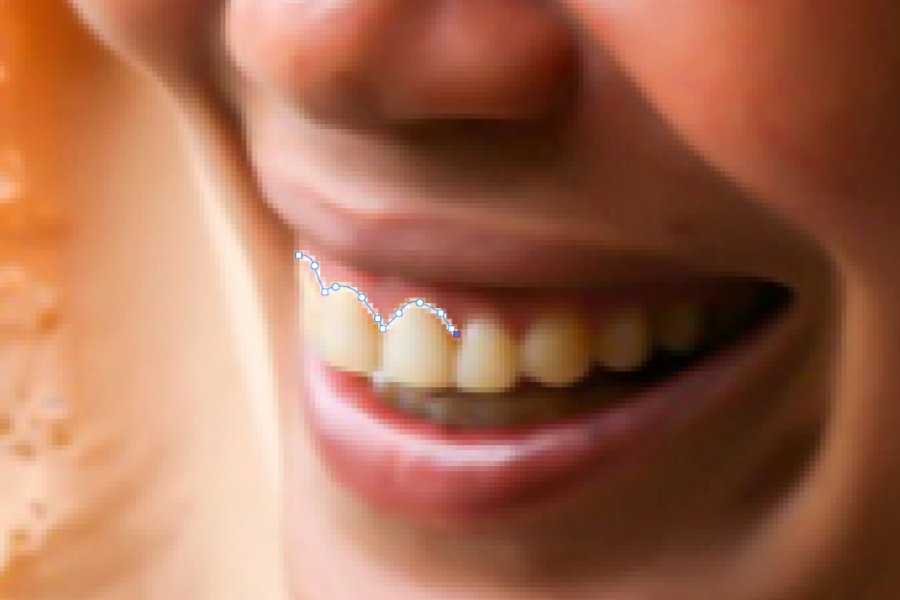
歯をトレースします。
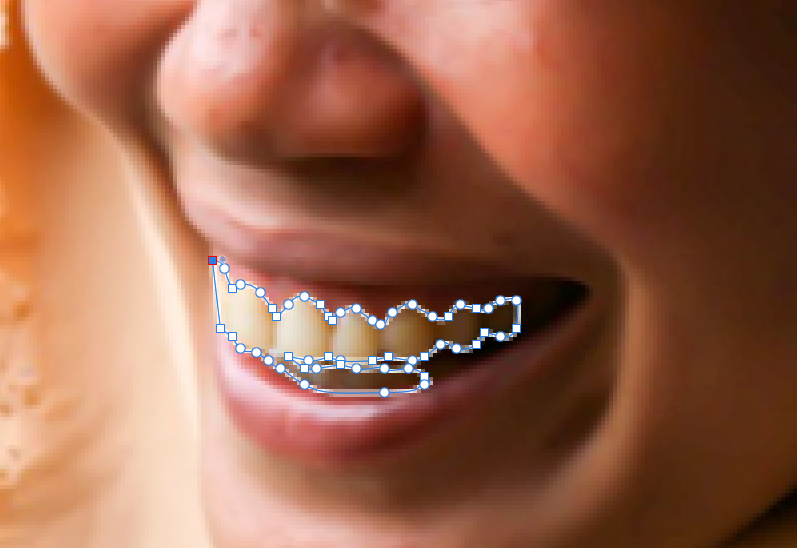
ペンツールが開始位置まで来たら、パスを閉じます。
4. マスキング
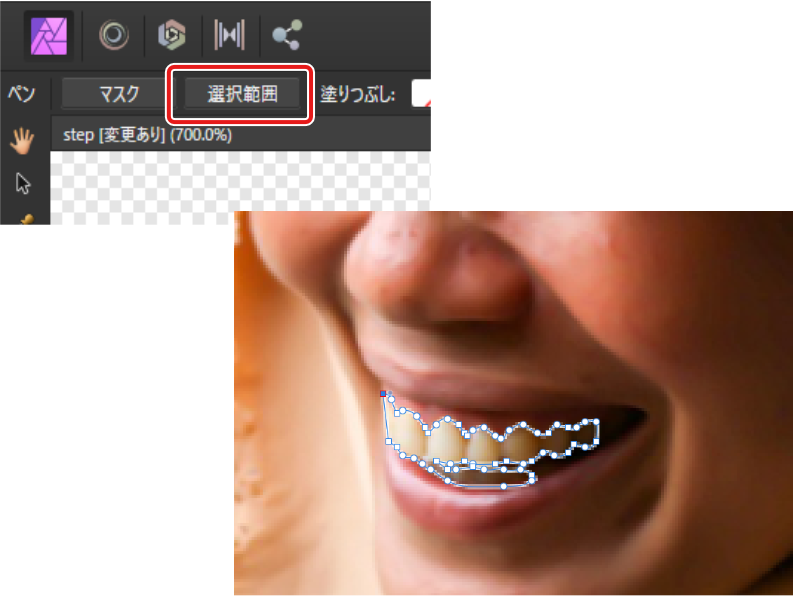
パスを選択した状態で、左上のコンテキストバーの「選択範囲」ボタンをクリックします。
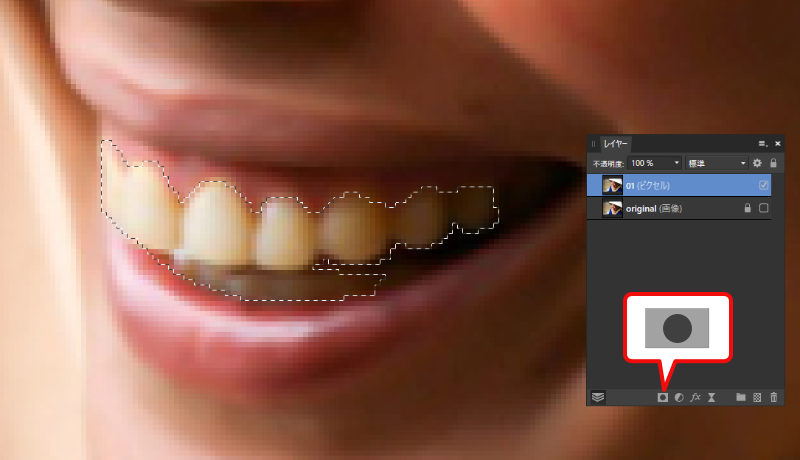
歯のトレースが選択状態に変わります。
この状態でレイヤーパネルから「マスクレイヤー」のアイコンをクリックします。
ここでは操作中のレイヤーには便宜上「01」と名前を付けておきましょう。
歯のマスクができました。
これからこの歯を白くしていきます。
5. リカラーする
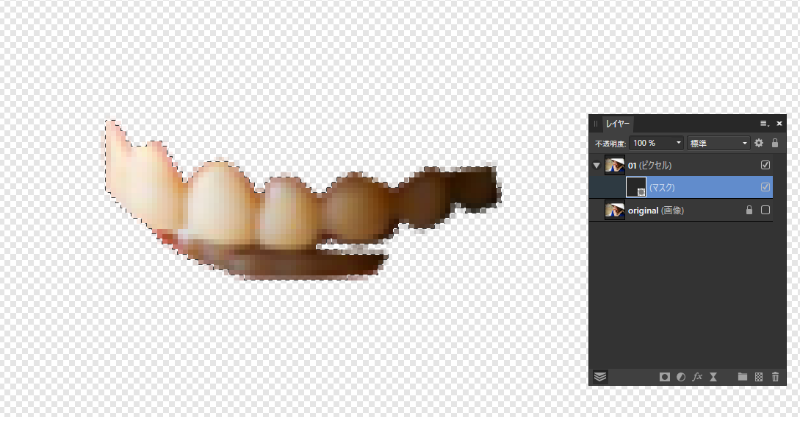
マスクレイヤーを非表示にし、レイヤーはたたんでおきます。
こうするとマスク範囲を選択状態にしたまま
画像全体を表示させることができるよ。
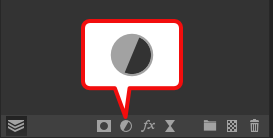
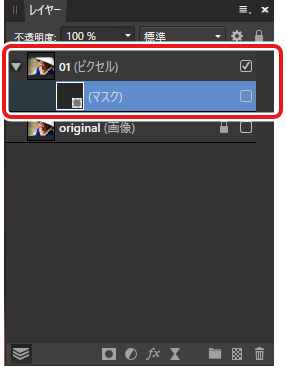
01レイヤーを選択した状態で、レイヤーパネル下の「調整レイヤー」アイコンをクリックします。
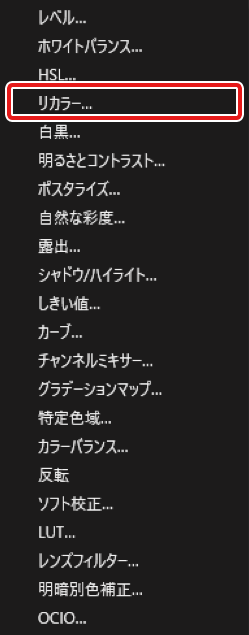
「リカラー」を選択します。
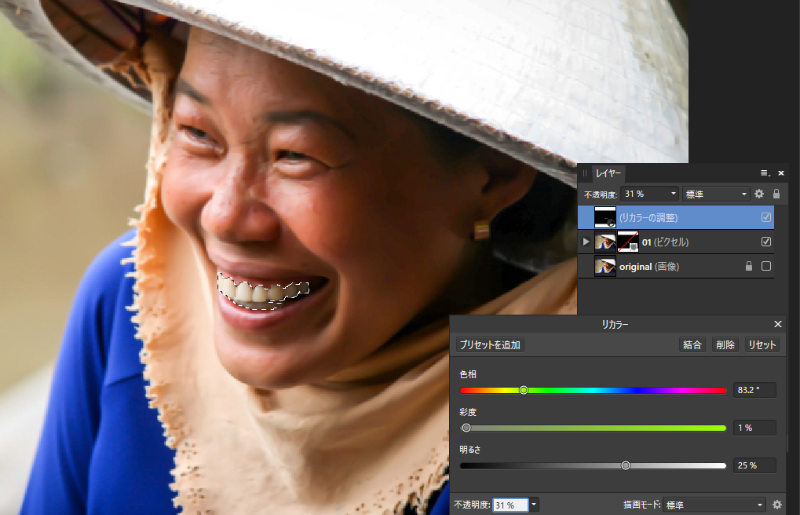
歯を確認しながら、色を調整します。
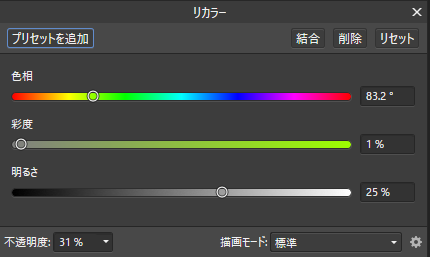
色相:83.2°、彩度:1%、明るさ:25%、不透明度:31% に設定し、右上の「x」をクリックしてリカラーパネルを閉じます。
6. 明るさとコントラストの調整
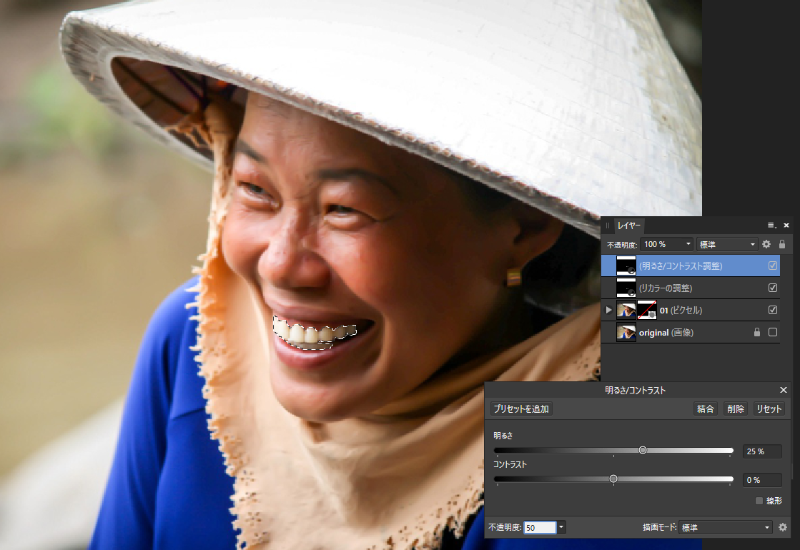
同じ要領で「明るさとコントラスト」レイヤーを作り、明るさを調整します。
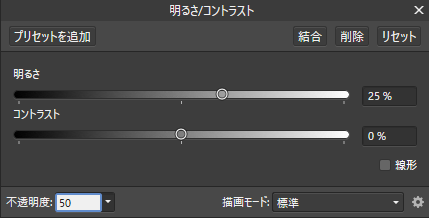
明るさ:25%、コントラスト:0%、不透明度:50% に設定し、右上の「x」をクリックして明るさとコントラストのパネルを閉じます。
7. 完成

あ!歯が白くなってる!
歯を白くすると清潔感がでるよね。